The ground resistance, also known as earth resistance, plays an important role in ensuring the safety and efficiency of electrical systems. But before knowing how to measure ground resistance with a multimeter, it's important to know which multimeter can handle this task easily.
For reliable testing, a digital multimeter is an excellent tool. But digital multimeter requires a battery for accurate measurement. For electrical measurements, an analog multimeter does not require a battery. A battery is required for the ohm function on an analog multimeter. The ground resistance measurement requires a fresh battery if you have an analog multimeter.
What is Ground Resistance?
In simplest terms, ground resistance can be described as the opposition or impedance provided by the ground to electrical current flow. Electric current encounters this resistance when it seeks a path to the ground. Several factors affect this resistance, including the soil's composition and moisture content, the electrode's design, and the contact area with the ground. Electrical installations and equipment are directly affected by ground resistance, so understanding it is essential.
Why should ground resistance be measured?
Electrical safety and operational reliability depend on measuring ground resistance. The safety of individuals working with electrical systems is essential in the first place. Low ground resistance prevents electric shock and fire by allowing faults to be cleared quickly. Also you can use multimeter for checking grounding.

In addition, industries and facilities must comply with regulations and standards, such as the National Electrical Code (NEC) and the International Electrotechnical Commission (IEC), in order to avoid penalties and legal repercussions. Last but not least, efficient grounding reduces electrical noise, enhances equipment performance, and extends the lifespan of electrical systems.
How To Measure Ground Resistance With A Multimeter: Step-By-Step
The process of measuring ground resistance with a multimeter can be straightforward if you follow a systematic approach. Through this step-by-step guide, you will ensure accurate results and safety throughout the measurement process.
Step#1. Unplug Your Equipment From The Power Source
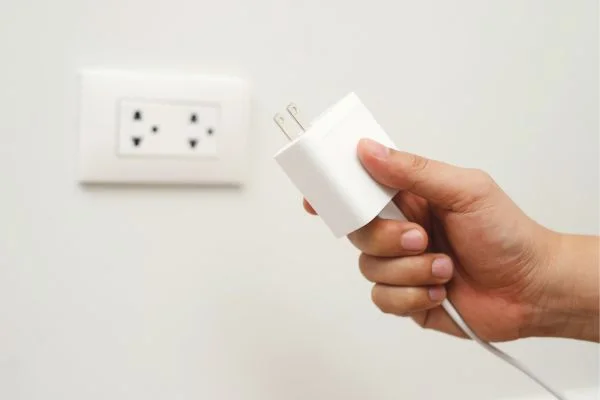
You must disconnect the equipment you're testing from the power source before measuring ground resistance. Performing this step prevents any electrical interference and protects you from potential electrical hazards. Don't forget to unplug and turn off all equipment to ensure safety.
Step#2. Locate A Piece Of Wire For Remote Equipment
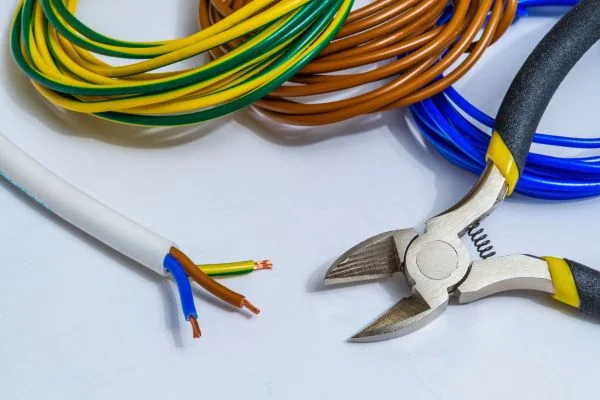
If you want to measure ground resistance, you may need to create a temporary connection between the test location and your multimeter. Especially when dealing with remote equipment, you can accomplish this with a piece of wire. By using the wire as a conductor, you can establish a connection and measure resistance effectively.
Step#3. Set Your Multimeter
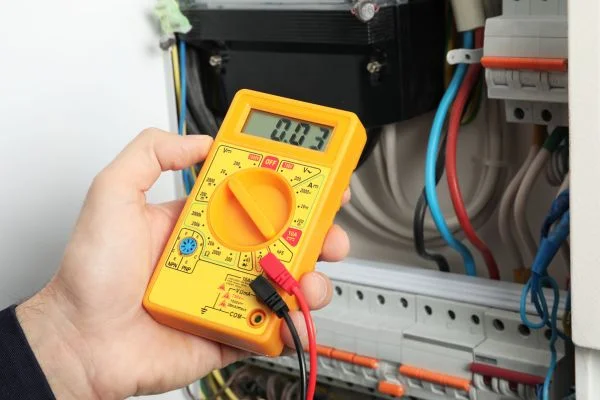
After you've taken the necessary safety precautions and secured your wire, set your multimeter to Ohms mode. The Ohms mode measures electrical resistance, which makes it the ideal setting for this task. To select this mode, refer to your multimeter's user manual.
Step#4. Connect The Leads
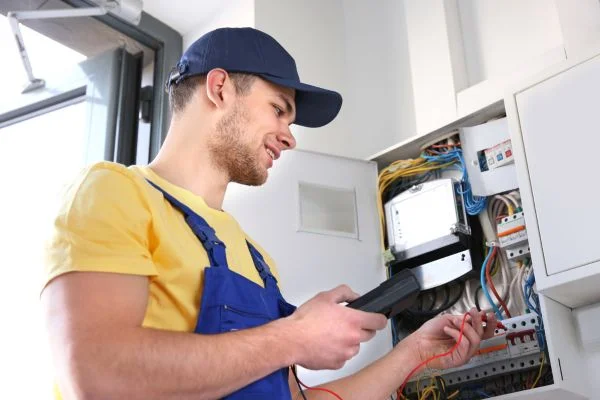
Multimeters usually come with two leads, one black and one red. Correctly connecting these leads to the multimeter is essential. The black lead connects to the COM (common) port, while the red lead connects to the VΩmA (Ohms) port. As a result, the multimeter is able to measure resistance accurately.
Step#5. Connect The Black Lead To The Wire
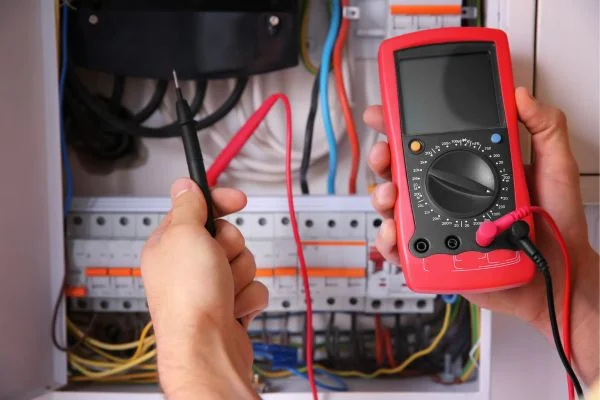
Take the black lead and connect it to the wire that you will be using for your measurement. You can use this point as a starting point for your circuit and use the multimeter to measure the resistance between it and your ground resistance location.
Step#6. Connect Another Lead To The Test Location
It is important that you touch the red lead of your multimeter directly to the ground or equipment you are testing. By completing the circuit, the multimeter can measure the resistance between the two points. For accurate results, ensure a secure connection between the red lead and the test location.
Step#7. Check The Readings
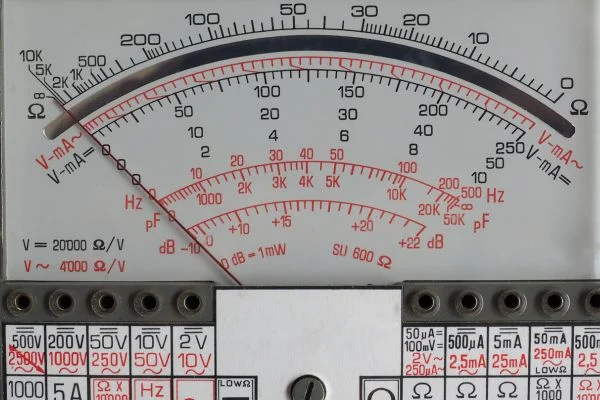
On its screen, the multimeter will display the measured resistance in Ohms as soon as it is connected.
At the test location, this reading indicates the ground resistance. Take note of the readings for your records or analysis. A lower resistance value indicates better grounding.
Factors Affecting Ground Resistance
Knowing the factor will give you a better understanding of how to measure ground resistance with a multimeter.
1-Soil Type and Moisture Content
Ground resistance is influenced by soil type and moisture content. Different soil types, such as clay, loam, and sandy soil, offer varying levels of electrical resistance. In general, moist soil with good conductivity lowers ground resistance, whereas dry or rocky soil can increase it. It is important to consider the ground's soil characteristics when measuring resistance levels because seasonal changes in moisture content also affect them.
2-Electrode Material and Depth
There is a relationship between ground resistance and the material and depth of the grounding electrode used. Due to their high conductivity, copper or galvanized steel electrodes are commonly used. Depending on the electrode installation depth, the electrode can reach deeper into conductive soil layers. Since deeper electrodes typically access moist and less compacted soil, they offer lower resistance, enhancing the overall effectiveness of grounding systems.
3-Electrode Spacing and Configuration
The distance between the grounding electrodes and the configuration of the electrodes play a role in ground resistance. The use of multiple ground rods spaced at a certain distance, for instance, can reduce resistance by creating a more extensive grounding system. It is also possible to influence resistance levels with different configurations, such as a grid or radial layout. In order to achieve the desired level of ground resistance, it is crucial to plan and design the grounding system properly. Consider electrode spacing and configuration when designing the grounding system.
4-Environmental Factors
Temperature, humidity, and soil contamination can affect ground resistance measurements. Temperature changes affect soil resistivity, resulting in variations in resistance values. Conductivity can be enhanced by high humidity levels, while resistance can be enhanced by soil contamination with chemicals or pollutants. The results of ground resistance tests must be accurate and reliable if electricians or professionals consider the environmental factors.
Troubleshooting Common Measurement Problems
Troubleshooting common measurement problems is the main part of completing the test of measuring the ground resistance. Take some troubleshooting tips here:
Issues with Multimeter Accuracy
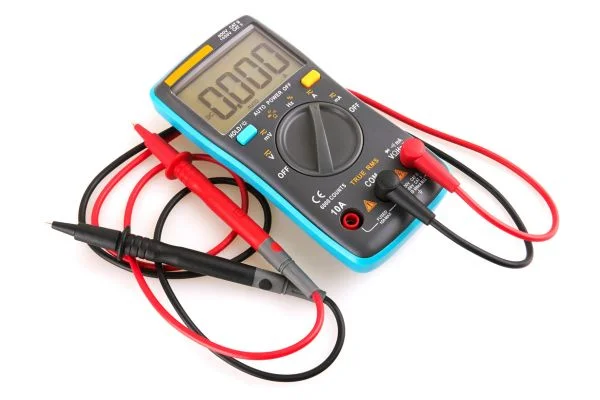
When measuring ground resistance, multimeter accuracy is crucial. You should first ensure that your multimeter is calibrated properly if you encounter inaccuracies. Keeping calibrations up-to-date is crucial to maintaining precision. Additionally, clean and check the condition of your test leads. It is important to ensure that the test leads are securely connected to the multimeter and the ground electrode to prevent erroneous readings. A calibration expert can identify and rectify accuracy issues if problems persist, especially if the multimeter's user manual is not available.
Correcting and Retesting Ground Resistance
When initial measurements reveal high-ground resistance or inconsistencies, it's essential to correct and retest. The first step is to ensure the grounding electrode is deep enough in the soil and in good condition. Connect the electrode to the multimeter and check the connections. As necessary, clean and secure connections. It is often possible to obtain more accurate results by repeating measurements after addressing these concerns. To keep a clear record of the testing process, it's a good idea to record each measurement attempt along with the steps taken to correct any issues.
Safety Precautions
Measuring ground resistance requires a high level of safety. Here are some essential safety tips for you:

Personal Protective Equipment (PPE)
Working with electrical systems requires a high level of safety, and ground resistance measurement is no exception. To minimize the risk of electrical shocks, burns, and other injuries, electricians should wear appropriate personal protective equipment (PPE). Wearing flame-resistant clothing, gloves, and goggles is also recommended. For a safe work environment, it is imperative that you are properly equipped with PPE.
De-Energize Electrical Systems
De-energize the electrical system you are working on before measuring ground resistance. Power sources must be turned off, and the circuit must be disconnected. It is important to follow lockout/tagout procedures during testing to prevent accidental re-energization. A safe testing environment is ensured by this precaution.
Testing Environment
For ground resistance measurements, choose a safe and controlled environment. You should ensure that the area is clear of hazards and has adequate lighting. Provide yourself with sufficient workspace so that you can work safely and comfortably. Tests should not be conducted in wet or damp conditions, as moisture can pose an electrical hazard. It is important to maintain a clean and organized workspace during testing to minimize the risk of accidents.
Summary
It is crucial to measure ground resistance accurately in order to prevent electrical accidents and ensure the reliability of grounding systems.
A professional can contribute to a safer and more reliable electrical infrastructure by understanding the factors affecting ground resistance and addressing common measurement issues. Hopefully, you know how to measure ground resistance with a multimeter.
