You should know the answer to “how to test golf cart charger with multimeter?” Simply, connect the multimeter to the charger. Set the multimeter to the voltage setting that matches the voltage of the charger. Read the multimeter and make sure it is reading the correct voltage.
Testing a golf cart charger with a multimeter is not difficult and can help you determine if your charger is functioning correctly. A multimeter is an electrical testing device used to measure resistance, current, and voltage. It has two probes, one for measuring current and one for measuring voltage. In this guide, we will explain how to use a multimeter to test your golf cart charger.
Why Are the Golf Cart Battery Chargers Important?
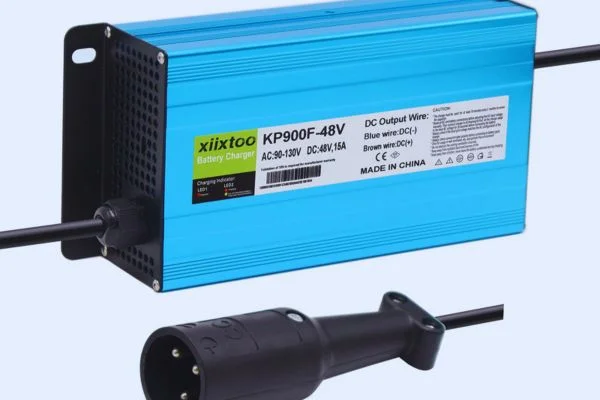
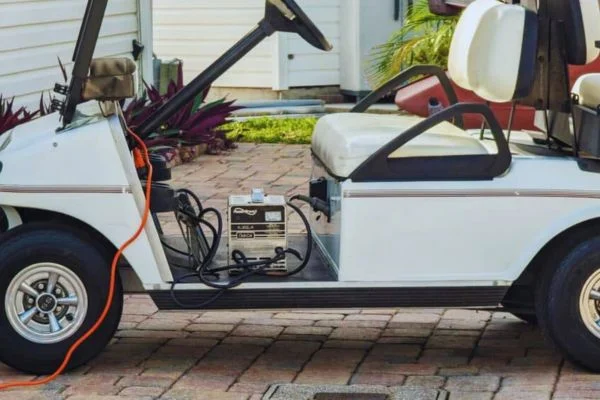
Golf cart battery chargers are a must-have because they play a huge role in keeping your golf cart batteries in top shape. These chargers use smart technology to charge your batteries just right – not too much, not too little.

This means your batteries last way longer. So, if you want your golf cart to always be ready to roll without any hiccups, these chargers are definitely essential!
How To Test Golf Cart Charger with Multimeter?| Step By Step Guide
It is easy to learn how to test golf cart charger with multimeter. To begin, turn off the charger and disconnect it from the battery. Next, set the multimeter to the correct voltage setting and connect the multimeter to the charger terminals. Finally, turn the charger on and check the multimeter for the charger’s output voltage. Here are the details:
Step#1 Safety First
It is always important to prioritize safety. Turn off the golf cart, disconnect it from the power source, and wear safety gear such as gloves and safety glasses.
Step#2 Set Up the Multimeter
Select the DC voltage setting on the multimeter and set the range to the appropriate level (typically, 0-60V for most golf cart chargers).
Step#3 Check Charger Output Voltage
Connect the red probe of the multimeter to the charger’s positive output terminal and the black probe to the charger’s negative output terminal. Turn the charger on and observe the multimeter’s reading. Depending on the cart, it should show the charger’s rated output voltage, which is usually 36V to 48V.
Step#4 Inspect for Fluctuations
Keep an eye on the voltage fluctuations while the charger is running. Stable readings indicate that the battery pack is receiving a consistent voltage from the charger.
Step#5 Check for Overheating
You should carefully touch the charger’s components to ensure they are not overheating. A hot charger may indicate a problem if any part feels excessively hot.
Step#6 Test Continuity
Unplug the charger and turn it off. Check the charger’s power cord, plug, and wires for continuity using a multimeter. If there are any breaks or loose connections, the charging process could be hampered.
Step#7 Inspect Battery Voltage
In addition to checking the golf cart batteries’ voltages, you can also check the individual batteries’ voltages if your multimeter has a range above them (typically 6V or 8V per battery). To avoid imbalances, make sure they are within the correct range and roughly equal in voltage.
Step#8 Monitor Charging Time
Lastly, observe the charging time. As specified in the manufacturer’s manual, the charger should operate for the expected period of time. You might have a problem if it shuts off prematurely or takes a long time to shut off.
How to Know My Golf Cart Charger Is Faulty?
Your golf cart’s battery performance and longevity are highly dependent on the performance and longevity of a properly functioning charger. Detecting a faulty golf cart charger early on can prevent the possibility of damaging your battery system and ensure a seamless golfing experience. Here are five ways you can find out if your golf cart charger is indeed experiencing problems:
No LED Indication or Display

Most golf cart chargers show a visual indication when you connect the cart to the charger, often through an LED light, to confirm that the charging process has been completed.
Read more aboutDoes Led Lights Use A Lot Of Electricity?
A clear sign of a faulty charger is the absence of any LED lights illuminating upon connection. A lack of this visual cue suggests that the charger might not receive power or may not be able to initiate the charging cycle at all.
Abnormal Charging Sounds
Usually, when a charger is properly functioning, it produces a distinct buzzing or humming sound when operating. However, if you notice unusual noises such as clicking, sparking, or excessive buzzing, it might indicate that one of the charger’s internal components has malfunctioned.
Read more aboutWhy Is My Electrical Outlet Buzzing
There is a possibility that these irregular sounds are a result of faulty wiring or damaged circuitry, which requires immediate attention.
Inadequate Charging or Overheating
If you observe the batteries aren’t charging fully despite a longer charging period, it may indicate that the charger isn’t delivering the required voltage. It is crucial to monitor the charging duration and battery temperature.
However, you should be careful if excessive heat is emanating from the charger during the charging process as it could indicate that the charger is overheating, which may lead to safety concerns and a reduction of the charging efficiency of the charger.
Fluctuating Voltage Output
In order for a charger to be reliable, it should deliver a consistent voltage output throughout the charging cycle. You can use a multimeter to measure the voltage output from your charger at different intervals.
It is important to note that if there are significant fluctuations in voltage levels, it may indicate an unstable charging process. This will adversely affect the batteries and shorten their life spans.
Battery Performance and Lifespan
The performance of your battery can provide you with a lot of insight into the health of your charger, but it is not always a direct indication of a faulty charger. It might be a consequence of an inconsistent or improper charging, caused by a faulty charger.
If you notice a gradual decline in the capacity of your batteries or if they seem to discharge more quickly than usual. It is possible to pinpoint the source of the issue more accurately if you maintain and monitor your battery correctly.
What are the Different Types of Golf Cart Batteries?
A golf cart battery is a type of lead-acid battery that is specifically designed for use in golf carts. Golf cart batteries are deep-cycle batteries, meaning that they are designed to be discharged and recharged on a regular basis. Here are the types:
1-Lead Acid
As one of the cheapest options on this list, lead-acid batteries are also the shortest-lived. However, they do not last nearly as long as most other options.
As far as the golf cart batteries are concerned, they only last about 20 hours before needing to be recharged again. This can be a problem for people who use their golf cart for regular trips around town without having enough time to recharge their batteries.
2-Lithium-Ion
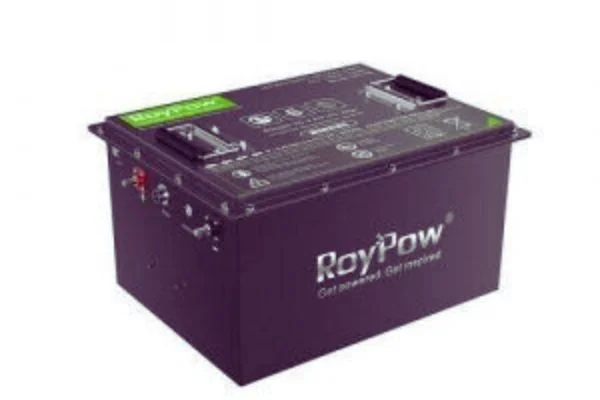
The lithium-ion battery is the most popular type of battery found in most new golf carts. The battery lasts for about 100 hours before it needs recharging, which makes it the most expensive option on this list.

Once again, you can use it for long trips and not have to wait for a recharge, as well as commuting on a weekly basis without having to break down mid-way through the trip.
As mentioned earlier, lithium golf cart batteries are also very resistant to heat, which makes them an excellent choice if you live in an area that gets extremely hot on a regular basis.
How Long Do Golf Cart Batteries Last?
AGM batteries are generally not driven regularly like cars, which is why they last longer than other types of batteries, such as lithium-ion batteries. Instead, golf cart batteries are usually used only when needed, and have an average lifespan of between two to five years depending on how often they are recharged, but it can vary from one model to another.
In order to properly test your device, it is important to understand what kind of charger you have. It is possible to find several types out there, for example: manual chargers, automatic car chargers, solar power panels, and many more! For this reason, it is best to follow the manufacturer’s instructions and reach out to them if necessary.
Read more aboutHow to Test for Parasitic Battery Drain
FAQs about how to test golf cart charger with multimeter
How can you tell if a golf cart charger is bad?
One way to tell if a golf cart charger is bad is to check if the charger is producing any heat when it is plugged in. If there is no heat, then the charger may not be functioning properly. Additionally, check for any sparks or unusual noises coming from the charger.
Can you test a charger with a multimeter?
Yes, you can use a multimeter to test a golf cart charger. The multimeter should show a reading of around 28 volts or higher when the charger is powered on. If the reading is lower than 28 volts, then the charger is likely malfunctioning.
How do I test my golf cart battery with a multimeter?
To test the golf cart battery with a multimeter, turn the battery off and check the voltage setting on the multimeter. Connect the positive and negative terminals on the battery to the multimeter and read the voltage on the display. If the reading is below 12 volts, the battery may need to be recharged or replaced.
Conclusion
After testing the golf cart charger with a multimeter, you should be able to identify any issues with the golf cart charger. If the reading on the multimeter is not within the correct range, then the golf cart charger is likely defective and should be replaced. Regularly testing your golf cart charger ensures its effectiveness, prolongs battery life, and keeps your cart running smoothly. We hope now you know, how to test golf cart charger with multimeter?
Related Posts


